|
| My mother recently gave me this hat. Sadly, I doubt I will have too many occasions to wear the dress and the hat together. That's what blogs are for, I guess--showing off one's hats! |
Oh, I did wrestle with this one. Though I'm dissatisfied with it on several points (and foolishly inclined to make the pattern up again just to prove I can overcome the challenges), at least it is finished and wearable.
The fabric choice, a thin cotton lawn from Maggy London via FabricMart, was my first mistake. Originally purchased with the idea of using it for a blouse, I knew that this limp piece of goods lacked drape and substance. But I had two whole yards of it and I liked the dots, so I fooled myself into thinking it would be fine as a dress. I considered adding a lining, but decided to wear it with a full slip instead. That turned out to be a good choice, because I would never have persisted in trying to alter it if there had been a lining to deal with. Underlining, however, might have made a positive difference.
I may have cut one of the front skirt panels slightly off-grain, because it won't hang well no matter what I do. "Hang" is a bit of a misnomer, really, since the fabric is so light. "Float" is probably more accurate. It floats crookedly.
The major difficulties lay in the fit of the bodice. I mistakenly thought that cutting a size 6 in the upper chest and back would be narrow enough to avoid gaping. Not so. It was necessary to remove the center back zipper (and facing) to take out 1/2" of width per side, curving to rejoin the seamline five or six inches further down the back.
 |
| "Styled", if we can call it that, with red beads in place of the pearls |
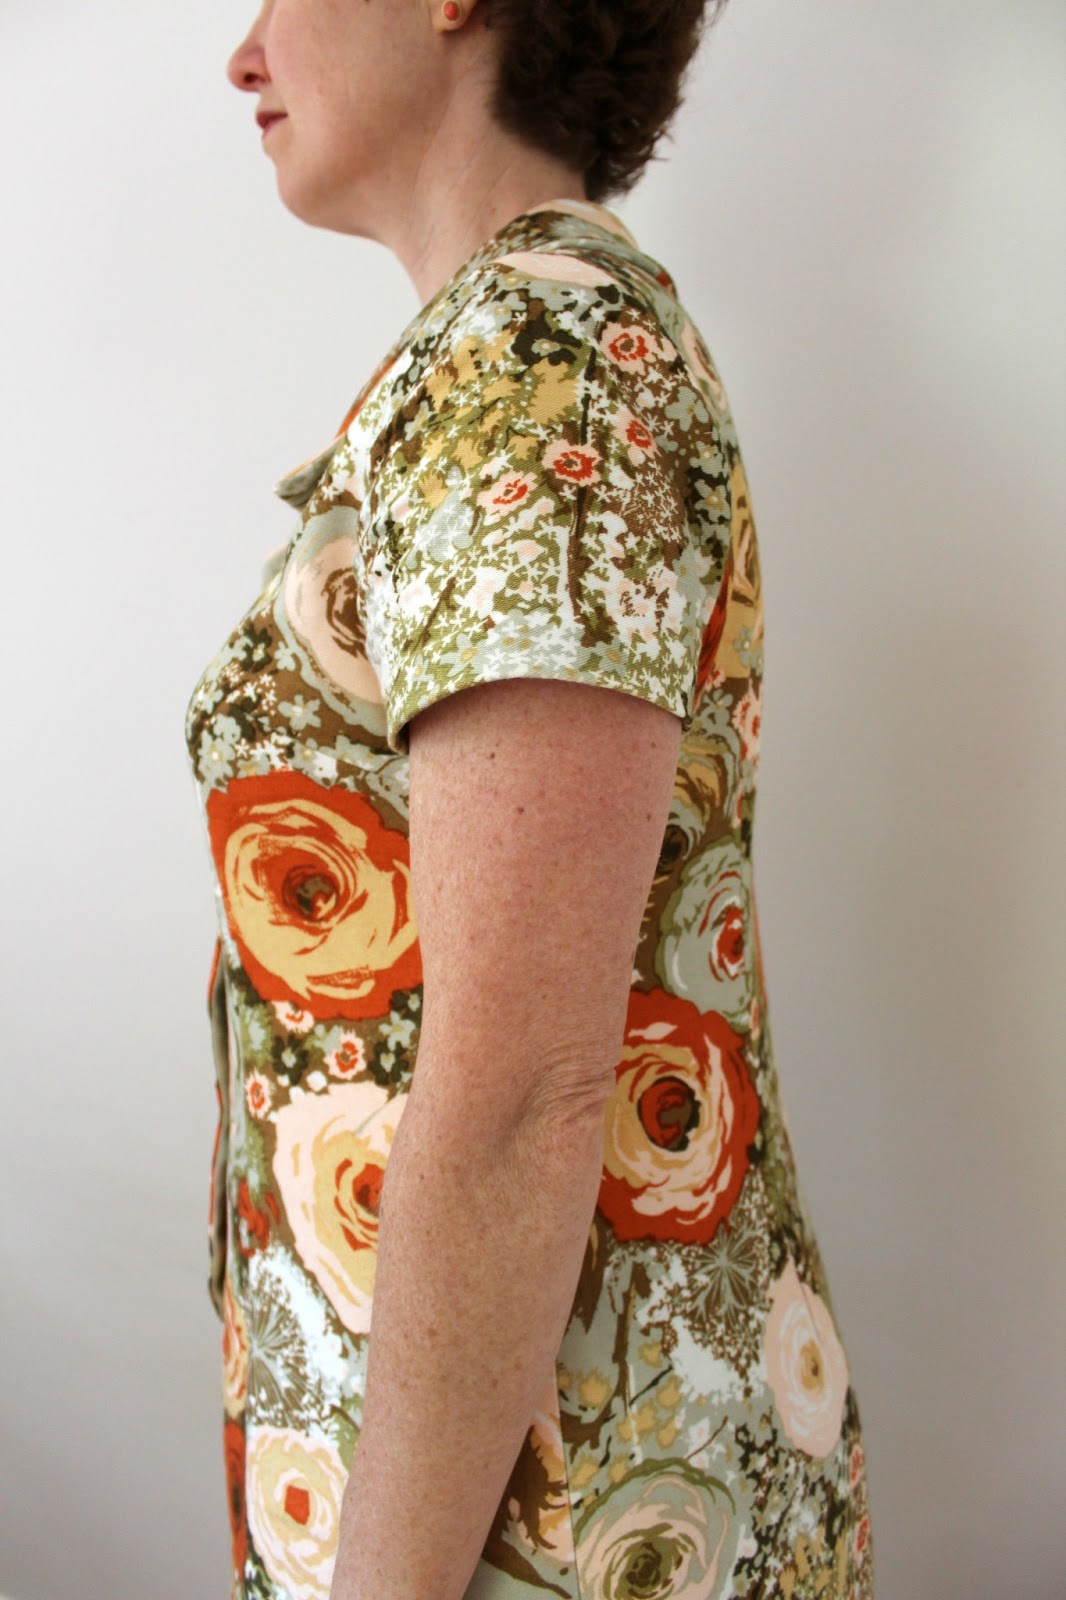
In the front, it simply wasn't obvious until the dress was constructed (the first time), that the center front section would stick out an inch away from the body, especially when reaching forward. Taking in the armhole princess seams removed sufficient width (1/2" per seam, 1" per side, 2" total) to make the center front lie flat, but it seriously distorted the armscye seam. Since I was in the dark about how to alter the sleeve that came with the pattern to fit the reduced armhole (and I didn't want the dress to be sleeveless), I used a little half-sleeve from another pattern. Since this type of cap sleeve is only stitched to the top part of the armscye, it is fungible in how it fits into the opening.
After applying the sleeve, bias tape was used to finish the entire circumference of the armhole. Unfortunately the whole business feels a little uncomfortable. I can move my arms just fine, but it rubs a bit under there. This is often a problem for me: providing enough room for comfort while covering the bra and avoiding gaping.
In for a penny, in for a pound, I finished it up with a self-made belt, using the last of my belting and buckles to cover in the process. Must restock!
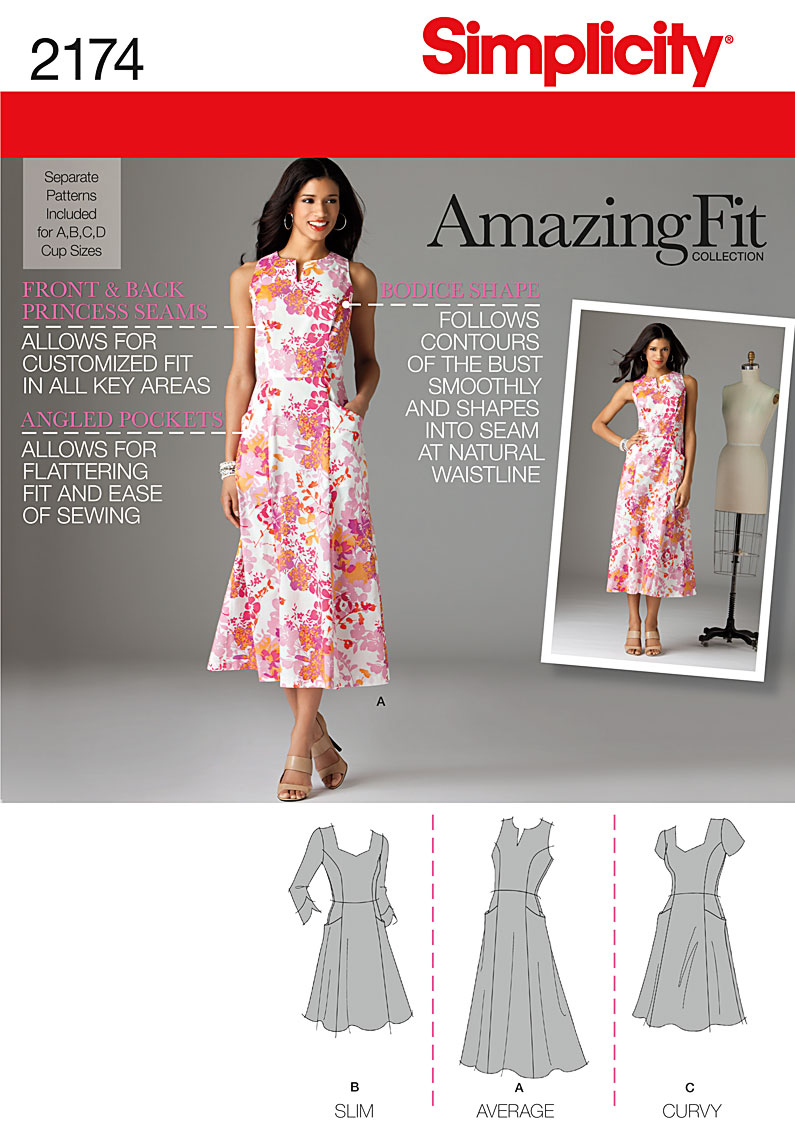
After sweating it out trying to make this simple dress fit, I am conflicted about the pattern. No, I'm conflicted about how suitable the pattern is for me. Nothing wrong with the pattern at all; it's very nice. Just out of foolish persistence, I'd like to see if I can work through the bodice fitting issues to achieve a non-gaping and comfortable fit with this style. On the other hand, perhaps the sweetheart neckline is not the best choice for a person with a narrow chest and a full bust. Not to mention that it might be a little too "sweet" (though when that's ever stopped me before, I'm sure I don't know).
Simplicity 1882,
which I've made before, may be a better choice for a comfortable summer dress with a vintage flavor. The curving v-neck and collar are flattering without presenting such difficulties of fit.
Do you ever find yourself struggling to "let go" of an idea, even when you know it's probably a waste of time and material? This dress threw down the gauntlet, and it's hard to just let it lie there and move on to the next thing, though I really think that's what I ought to do.