I removed the sleeves and made it into a vest.
Usually, when I am chilly enough to need a vest, I am chilly enough to also want an extra layer on my arms. The adage "if your torso is warm, your whole body will be warm" isn't true for me. I decided in this case, however, to do what I thought would have a better chance of producing a successful garment rather than what suits my usual functional requirements.

In addition to removing the sleeves, I picked off the bias trim at the hem and shortened the length slightly, and I reduced the volume of the lower part of the garment by a whopping 12"! The reduction in fullness was achieved by sewing both the front and the back pleats closed through the hemline and by taking in the side seams by 4" per side. I could still hide an early pregnancy under there, though I certainly don't plan to. Now the piece looks roomy rather than completely overwhelming.
So, that's the update on the Vogue 8876 front. On to new business.
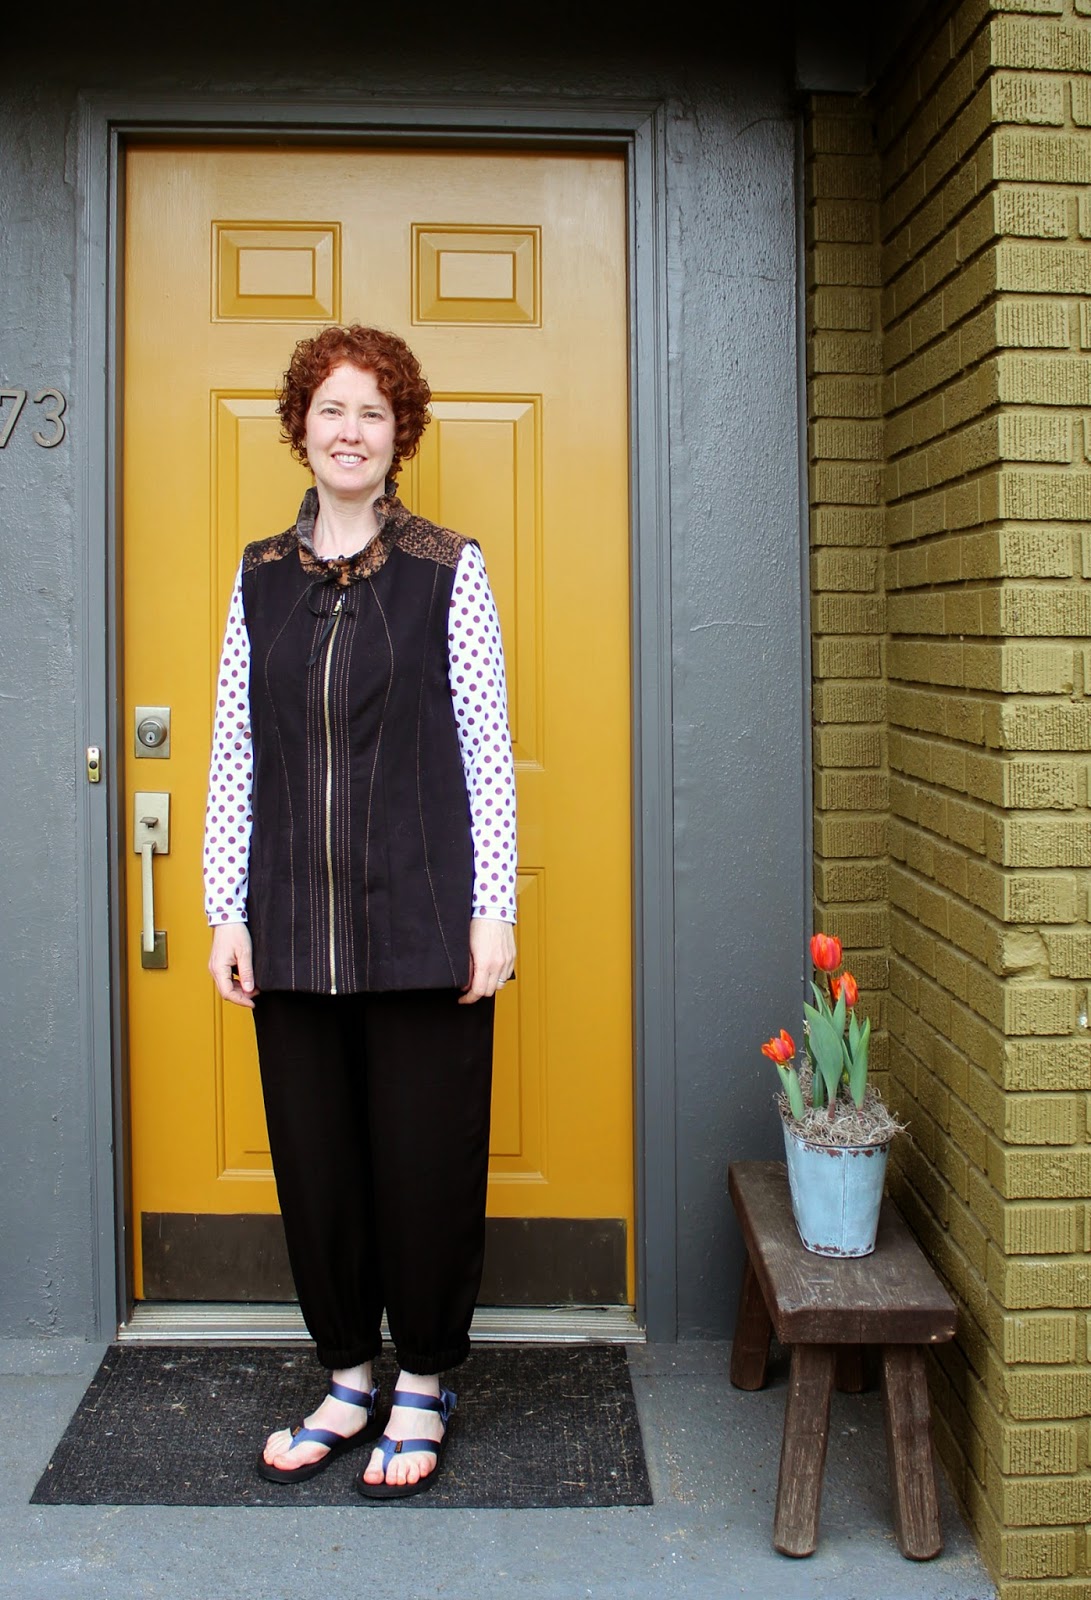
I sewed up a very simple pair of pants (worn in the photos above) on Saturday. Any elastic waist pants pattern would have done the trick, except for my TNT (tried 'n true) elastic waist pants pattern, which has mysteriously become less billowy recently. I can't imagine what could have caused that to happen...
In any event, I used Butterick 5203, size 14, shortened on all the petite lines plus an extra 1 1/2" at the top of the waistband (otherwise I think the waist would have reached nearly to the bottom of my bra band) and an extra 4" at the hem (to make the cropped length). I've had such rotten results with pants of late that I decided to skip adding pockets or any other details--expending only the absolute minimum effort necessary to test the pattern and, as it turns out, end up with a wearable garment.
The fabric is a black rayon challis from FabricMart. It was on sale and inexpensive but it feels fantastically light and cool, and the nice drape makes it as flattering as a loose-fitting, elastic-waist pant is going to be. At the lower edge, I turned up a 1 1/8" casing and inserted 1" elastic to make a sporty gathered cuff.
 |
| This picture is so much like the others! My husband has limited patience for this sort of thing. The top underneath is Butterick 5954. |
It was only after I finished up these oh-so-basic pants that I realized a new Pattern Review Wardrobe contest started on April 1. Whether or not I will actually enter the contest, I decided to sew along with the concept: a full capsule wardrobe of nine pieces that work together.
The contest wardrobe consists of:
- Four tops
- Three bottoms
- Two items of the sewer's choosing (could be a dress, a jacket, a cardigan--whatever)
I have so many new motivations for wanting to sew a different kind of clothing just now! For one thing, I have become entranced with the work of Katy Bowman, a biomechanist and author whose basic message is that we need a whole lot more movement in our lives. An hour of exercise per day, no matter how intense, is not enough to maintain a healthy human structure and biology. As startling and unrealistic as this idea seems at first, after reading Katy's work for a while, I am starting to see how I might be able to incorporate her suggestions for adding more movement to my day while still getting life done. But pretty, whimsical dresses are not exactly the ticket when one wants to alternate between walking, standing, sitting on the floor, stretching and hanging from a bar throughout the day. I need movement-friendly clothing! And I want it to be compatible with comfortable, not-very-restrictive bras and minimal/barefoot shoes.
Second, I am taking on a new "job" supporting business development and marketing for my husband's new architecture practice. Since my former professional networking wardrobe is ten years old, too small and too stuffy for Asheville in any event, I need new versatile pieces that work in a casual business and community environment.
More movement or not, my size and shape are changing in the second half of my forties. I vow to fight on, but today's reality is a more middle-aged form! This translates into a need for a shift in my ideas about the kinds of clothing shapes that flatter me.
Finally, I feel ready for a change. I am really excited about trying some new things. And I definitely need some new basics in my closet--most of my every day items are overdue for replacement.
That all adds up to excitement for the Wardrobe Contest. I also finished two new (very basic tops) over the weekend, which I will show you soon.
What do you think of the contest? Can I convince you to join in, officially or unofficially?