Thursday, January 30, 2014

Polar Vortex Sweater + Costume Glasses


What does this arch look mean? Why, I need some more warm clothes, of course. I've gotten quite weary of my old standbys over the past few weeks of chill, and they no doubt of me.

But first...what do you think of the glasses? I love 'em, but they're a tease: not just fake, but too blurry to wear for longer than five minutes. My head starts to ache if I persist. Nonetheless, they have got me to thinking about finding some cute crazy frames, for no reason beyond accessorizing.


This is another Butterick 5203 (version one here), but with this version, I was also attempting to channel Vogue 1261, an Alice + Olivia design which recently went out of print:


Or maybe even something like an Eileen Fisher petite tunic:


This is an acrylic and wool boucle sweater knit from FabricMart (they still have a few yards of this blue and a couple of other colors). So far, I really like the depth of colors in the knit and the relatively non-scratchy feel of it. It remains to be seen how it will wear. Boucle knits are very prone to pilling and becoming fuzzy.

/

To the basic pattern I added a cowl neck, cuffs and one slanting pocket. I really only need one for my cell phone, and that seemed more "design-y" looking than a pair.


Center back seam with swayback adjustment: working pretty well! Next time I make this, I think I'll add a center front seam just as a design detail and to match the back.


Always the question: how will I finish the hem? This knit presses well, so I could have folded up a hem, but I decided to face it with an adorable Liberty of London bias tape that's been waiting patiently for a use.  Very cheerful and nice and flat!

Wednesday, January 29, 2014

Tutorial: Try On Fabric Using Free Online Photo Editor Pixlr.com


What image editing program do you use? For years, I sniffed at the notion of using anything but Adobe Photoshop. As a marketing director, I knew just enough Photoshop to complete rudimentary photo editing tasks. Adobe InDesign was my page layout software of choice, and I was a pretty fair hand with it.

But then I left the irritations and comforts of my nice salaried job to become whatever it is that I am now (mother, freelance writer, dressmaker), and the price tag for the Adobe products became much too steep for personal use. Adobe now offers web-based subscription access to most, if not all, of its software, and I have taken advantage of this service when I needed a particular software for a freelance project, but it's not an expense I can justify in the normal course of things (Adobe allows month-to-month subscriptions, which can be placed on hold indefinitely).

Some folks have had great success with The Gimp, an open source program that is similar to Photoshop, but for some reason it is just different enough from the Adobe family of products that I have never managed to get comfortable using it.

About a year ago I discovered Pixlr.com, and it has become my (free! no log in! on-line!) image editing solution of choice. Today I am talking about Pixlr Editor, which is the most powerful of the three versions of this software (the others are for use on mobile devices, I believe--I actually haven't used them).


Few things are more tedious than writing or reading a software tutorial, but I have been thinking that a lot of sewers might like to learn how to use Pixlr or another image editing program to virtually try on fabric before buying on-line. I can't tell you how many mistakes this technique has helped me to avoid! I will be thinking that a particular color or print will look fantastic on me--until I pop it into my Pixlr template. The immediate visual feedback isn't perfect--of course there are variations and inaccuracies in the way fabrics are photographed and displayed on a screen--but it gives me a great general idea of how a color scheme or design will look on me.

So here we go: a simplified method for combining a photo of yourself with a fabric swatch. We won't get into scaling or shading or anything complicated: just the basics!

Step One: Rustle Up a Clear Photo to Use as a Template

I took a new photo for this exercise. You want a nice clear, uncomplicated photo on a plain background, wearing a solid color top with as few details as possible.


Step Two: Erase the Color of the Top

After opening your photo in Pixlr, you will be selecting all of your garment and changing its color to plain old white. Or another color would work. It's not the color that will matter, it's that you create one solid block of color with no shading or variations.

Select the "Wand Tool" from the tool bar. In the image below, it's highlighted. It is a little stick with a light pink burst at the tip.


With the wand tool, click on your top. Lots of little white lines will appear, showing which pixels have been selected. Your goal is to select (eventually) all of the pixels that are your top, and none of the pixels that are your skin, hair or background. To select more pixels, hold down the Shift key, move the wand tool to an area that hasn't yet been selected, and click again. Once you've got a good amount of your top selected, you can hit the Backspace key to erase the color from that area. If you have a pretty good outline at that point, you can clean up any little remaining bits by using the Eraser tool (it is two tones of pink in the image above and looks like the eraser you used in grade school). Remember, if you erase too much, you can always Undo your last changes by clicking Control + Z.

There are lots of ways to refine your selecting. For example, at the top of the image above, you see a box that says Tolerance. It is set at 21 as a default. If you select a lower number in that box, your wand tool will be less tolerant; that is, it will select a smaller range of shades of pixels. If you select a higher number, it will be more tolerant and will select more pixels per click.

Our selecting doesn't have to be perfect to yield a useful image.


Step Three: Create a Duplicate Layer


The Layers menu will probably open on the right side of the screen. If not, you can open it from the View menu in the top menu bar.

Right click on the Layers menu, and select Duplicate layer.


In the image above, you can see the new layer called Background copy in the Layers menu. It is bright blue, which means it is active, and it has a check mark in the box on the right side, which means it is visible. The original Background layer always stays put. It has a lock beside it, meaning that it cannot be moved or hidden.


Step Four: Create a Layer Mask


With your newly-created layer highlighted (Background copy on the Layer menu; you can tell it is highlighted because it is a darker blue. If it isn't highlighted, click on it), use the Wand Tool to select your white top area again. Then, from the Edit menu on the top menu bar, select Invert Selection.

Next, right-click on the image and select Add layer mask.


When you see a new icon pop up beside the Background copy layer, you will know you have created the mask.


Step Five: Add Fabric Layers!

By clicking on it, highlight the original Background layer. Then go to the Layer menu in the upper menu bar and select Open Image URL as layer.


A dialogue box will pop up. Open a new tab in your web browser, and find the fabric you'd like to "try on". Right click on the image of the fabric and select Copy image URL.


Go back to the Pixlr tab and paste in the URL you just copied. The fabric will appear as a new layer between the Background layer and the Background copy.


We can see that the fabric layer needs to move down. Select the Move tool from the left hand tool bar (the one with the arrow and the cross). With the fabric layer selected in the Layers menu box, click the image and drag the tool down to reposition the fabric within the white area.


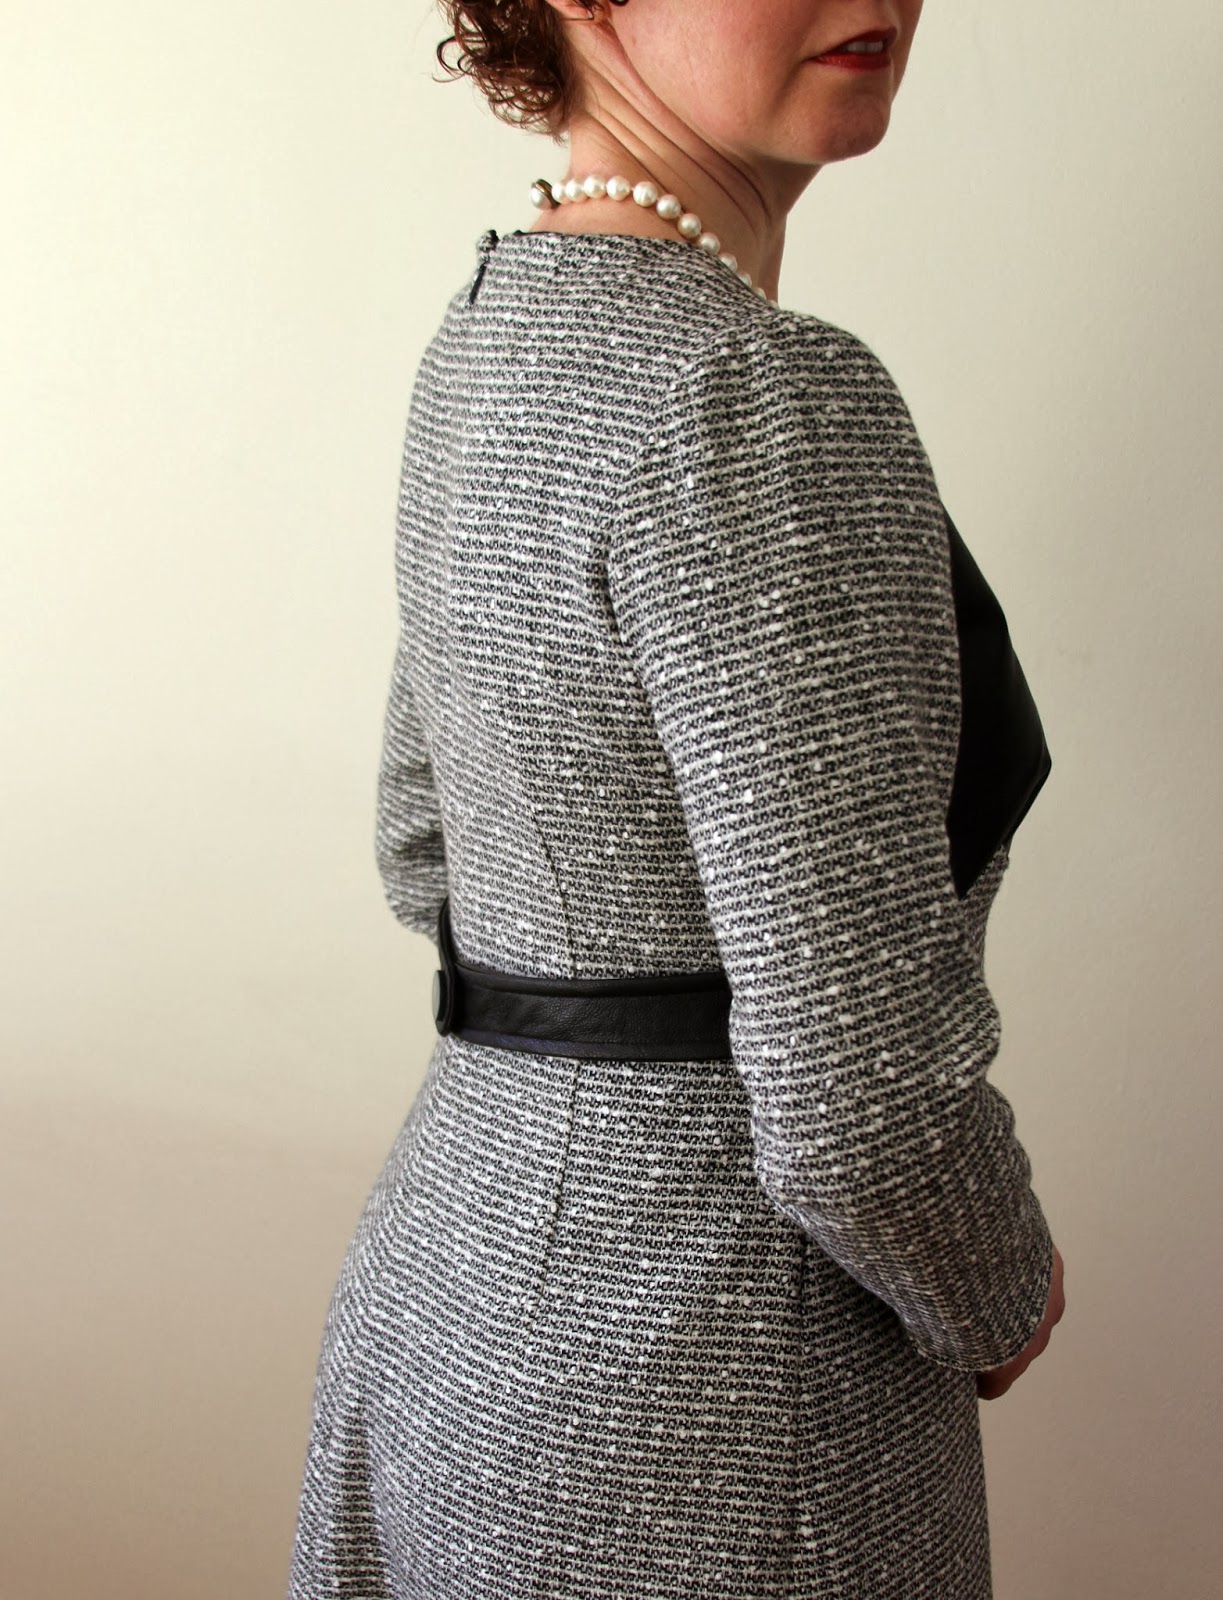
You might notice that the fabric does not quite fill the white area. In this case, I don't mind that little gap at the edge. I am just trying to get an idea of whether the fabric is totally wrong for me. Lots of times it is! I was in love with the skulls and roses print shown at the top of this post, if you can believe that. This technique showed me right away that it is not the fabric for me.

When you try this, you might find that the fabric seems really tiny within the white area. This could mean that your original photo is a much higher resolution than the resolution of the fabric swatch. The easiest way to deal with this problem is by resizing your photo. Select the Image menu item from the top menu bar and then select Image Size.


To be compatible with fabric swatches sized for the web, make your image between 400 and 500 pixels wide. If the fabric is still showing up very tiny, resize your photo again smaller, or see if you can find a higher resolution photo of the fabric.

Another refinement to this technique could be to hold a ruler when you take your original image, and then scale the fabric swatch to match that guide (if the swatch is photographed with a ruler). And yes, it is possible to scale the size of the fabric swatch within your composite image. We won't cover that process today. 

Things to Keep in Mind

  1. Different fabric-selling websites format their swatch images differently. FabricMart, for example, uses a technology (maybe frames?) that makes it impossible to save the fabric swatch directly. You can save the image as a webpage and then insert a fabric layer from the saved file. On Fabric.com, you must save the expanded fabric view as a file and then make it into a layer, rather than opening it directly from the URL. You would do this in Step Five by selecting Open Image as layer rather than Open Image URL as layer.
  2. You can keep adding layers to your image file for different fabrics. Just make sure you are adding the new layers between the Background and Background copy layers so that your new fabric will show up. You can turn off various layers (by unchecking the box next to them in the Layers menu) to go back and see your previous fabrics. You can even name the layers with the name and source of the fabrics they correspond to.
  3. To preserve the layers, save your file as a PXD format. If you save it as a JPEG file, only whatever is visible on the screen at the time you saved it will be retained in the file. All the layers will be flattened into one layer. If you save as a PXD (same as a PSD in Photoshop), all the layers will be saved so that you can go back in and audition new fabrics anytime using the same methods. Be warned, though--the file size can get quite big if you only add and never delete layers. You can make additional copies of the file in PXD format if you'd like to save lots of fabrics without creating excessively large file sizes.

Well, I'm tuckered out! I hope that all makes some sense, and that you will find something of use in this technique. As I've said, I find it invaluable. It's a bit fidget-y to figure out at first, and there are always different considerations based on your source files, but still, very helpful in the end.

Let me know if you do something like this! I'd love to hear.

Friday, January 24, 2014

At Last, My Simplicity 3833 Has Come Along

A few things changed in my thinking since the last time we spoke about Simplicity 3833.

I was agonizing about whether I should use a highly prized piece of lime green wool doubleknit for this dress, or whether I ought to save it for a more practical tunic top or cardigan (um, yes, the latter). But I didn't want to put this pattern away, after having taken the time to test it, without making a wearable dress or top (the muslin still reeks of petrochemicals, so I think it was indeed just a muslin, destined for Goodwill or the garbage).

Inspiration struck: what if I combined a leather bodice (an of-the-moment trend) with a wonderful vintage wool boucle tweed that came to me by way of a yard sale a few years ago (a use of stash)? Even though this idea simultaneously broke a few sewing semi-resolutions (wearing gray, making dry-clean-only garments, making pieces that don't really fit my work-at-home, swing dancing mom lifestyle), I was seized by it and forged ahead.


The lambskin for the bodice was another stash item, purchased from FabricMart two or three years ago for $20. I used slightly less than half that skin, and half of another, much smaller and lighter weight, lambskin for the piping. In total I would guess it was about $15 worth of leather, plus $6 worth of wool boucle. I lined the dress in a teal blue acetate from FabricMart, which I stocked up on for $2/yard, so certainly the lining cost no more than $4. Total cost for a wool and leather dress, including the invisible zipper, thread and button, was under $30.


As I worked (and worked) on the dress, I was haunted by the worry that this would be a successful but never worn garment. I was happy to be using materials I have hoarded for some time, happy to be incorporating leather into a garment and happy to be using Simplicity 3833, but anxious about wasting precious sewing time.

The neckline, sleeve hems and hem band are trimmed with very tiny piping made from a thin, lightweight lambskin

And do you know what? A beloved, but elderly, aunt died last week, and I otherwise had nothing appropriate to wear for her funeral, which will be held tomorrow. She was a beautiful woman, the wife of a doctor and a fabulous dresser. Through the eighties and nineties, she wore designer ultrasuede suits, St. John knits and all sorts of other wonderful things. It wouldn't feel right to wear some sad old black career jacket and skirt to her funeral. But I have this! So the making of it turned out to be worthwhile after all.


This time around I made a 1" swayback alteration which helped the fit in the back greatly. I'm holding my hands up so you can see that I attached the back belt higher than specified in the pattern. The pattern would have you align the top of the belt with the bottom of the bodice, but that looked too jagged to me.


The top of the center back seam needs a hook and eye, but who knows if I will get around to installing one before tomorrow? I'm happy with the belt closure. Making a buttonhole in this leather did not work out at all, so I used one of my SnapSource snaps for the functional closure. Then I removed the shank from a gray pearlized plastic button with a pair of wirecutters, and hot-glued the flat button over the snap. It seems pretty secure and it lays nice and flat.


The belt does so much to add detail and interest to the back of the dress.


Here is an in-progress photo of the bodice, showing how I cut a shaped piece of lightweight fusible knit interfacing and applied it to the neckline to prevent stretching. (I also staystitched the neckline.)


I would love to have cut the sleeves from the leather, but I didn't have anything like enough. Also, the length of the dress turned out much too short, which is why I added the hem band. Although I like it fine, I wish I had cut the dress longer to begin with.


Glad I made it, glad I have it to wear tomorrow and very glad to be done with it and moving on to something else!

Sunday, January 12, 2014

Muslin Complete: Simplicity 3833

Hearing that my muslin-in-progress photos were helpful for a couple of folks who are thinking of trying this dress was so gratifying! And, as you will see, Lauren of Rosie Wednesday's comment that I might want to consider a swayback adjustment was certainly right on the money.


Really, I hate this fabric. It is has a quality of stiffness, despite being a knit and not actually feeling stiff. See how the hem folds into little pointy...peaks? But whatever. It has served its purpose.

I cut a bunch off of the hem since showing you the first pictures of this muslin (maybe 4" or something like that). Finding the best length for these kinds of tops is tricky, just as everything having to do with proportion is tricky, but I'm happy with the length this ended up (26" from the base of the back neck). The dress-over-pants look is fine by me, but since I have so many dresses, I decided that this should be clearly and only a top.


In unpicking the center back and side seams to give myself a bit more room through the waist and hip, I managed to make a hole in the seamline of the center back. Thus, I had to sew that seam back just a tiny bit snugger than it started out. But the sides seams, thankfully, came apart without incident and I was able to let them out about 1/4", giving me a total of 1" extra ease. That little bit makes all the difference in feeling comfortable.

The back is a mess and I rather hate to show it. But...yes, clearly I need a swayback adjustment and I won't be skipping it again, even at the muslin stage!


All those draglines from the shoulder blade to the underarm also seem to be suggesting a sloping shoulder adjustment. I did deepen the shoulder seam by 1/4", but apparently something more is needed. I'm still thinking on this one. It's a common issue for me. Sometimes I need to increase the shaping at the upper back (rounded back alteration, shudder).


Instead of a neck facing, since I knew I could pull this over my head and didn't need a zipper opening, I used a binding to finish the neck edge. I have learned that double knits need a longer binding strip than stretchier jersey knits. For jersey knits, I usually use a strip that, once seamed at the center back, is 20% shorter than the neck opening at the seamline. But for double knits, 10% to 15% shorter is what is needed: if the binding is too short, the neckline will pucker.

All this care and thought is going into the muslin for this garment because my prospective "real" fabric is so lovely: a lime-ish green wool doubleknit. Now I'm seized with indecision: should the "good" fabric become this dress or should it become a long cardigan? On the one hand, a cardigan would see more daily use, but then it would need careful cleaning to avoid shrinkage. A dress would be lovely, but I have lots of them. I just don't know!


Wednesday, January 8, 2014

Simplicity 3833 Muslin in Progress


The fabric still has a chemical smell, but I'm moving forward with my muslin. When it's complete, I'll hang the garment (tunic or dress, to be determined) out in the breeze for a day or so. If it still smells after that, I'll chalk it up as an unwearable muslin.


This is a size 10 throughout, using the shorter length of view D with all the marked petite adjustments taken.  What I am seeing is:

  • Bust darts too low. That's a new one! It's likely more a result of my using a ponte knit rather than any uncharacteristic perkiness. In a woven fabric, I bet the darts would be in about the right position vertically, but still a bit too long.
  • Darts are puckering. I'm not going to take responsibility for this. It's the unholy chemical composition of the fabric that doesn't press and holds wrinkles.
  • The neckline fits over my head without a back zipper opening, so it goes without saying that I'll be skipping the zipper. 
  • I'd like a bit more width from the waistline to the hem, so I plan to re-sew those seams with 1/2" or 3/8" seam allowances rather than 5/8".
  • The shoulder seam needs to be trimmed by 5/8" (I do intend to add long sleeves).


Since I was thinking of reshaping the neckline to make it slightly more open, and to use a binding rather than finishing the neckline with facings (as provided by the pattern), I believe I am going to re-sew the shoulder seams a bit deeper as a means of bringing the bust darts up a little. Since I haven't yet cut out the sleeves, I can adjust the sleeve cap for less height to correspond to this adjustment.


I'm not wild about the muddy, grayed-out color of this fabric (or much of anything else about it, except that it is here), but it works really nicely with a great Ellen Tracy scarf I found a couple of years ago at the thrift store. The scarf is large and beautiful, in shades of purple-y chocolate, gold, teal, cream and deep magenta. The slight plummy hue of this taupe is a good foil for the scarf, so I hope the garment will be wearable in the end.


Tuesday, January 7, 2014

Kwik Sew 3388 Men's Fleece Vest


The sewing I had in mind for today was Simplicity 3833, the vintage reissue shift pattern that is the subject of Rosie Wednesday's Shift Dress Sew Along.


I don't believe I have ever officially participated in a sew along before, rugged individualist that I am ;-). But I've had this pattern for an age, and I decided to play well with others on this occasion. Today's sewing plans were dramatically derailed (!!!) by a strong chemical odor that rose up from my intended fabric, a poly ponte knit, as it lay on the cutting table. Although I have other nicer fabrics that might be great for this pattern, I did want to test it out in something less precious first. More and more often these days, I am finding that I can't even stand to sew, let alone wear, fume-y fabrics. Whether it's a change in me or a change in the fabrics I'm not sure.

Off to the laundry room went the fabric, for a double round of washing and machine drying. If it smells "clear" tomorrow, I will proceed with the dress. But for today, I had machines threaded up with brown and nothing to sew. No, wait, not nothing...something for my husband (clearly, I was desperate!). This vest had been patiently waiting its turn since before Christmas, and today it had its chance.

I've made bunches of Kwik Sew 3388 for my husband and son. This pattern couldn't be more basic, but it's something that they actually wear. A v-neck vest from this pattern in fleece or wool knit over a collared long-sleeved shirt is my architect husband's fall and winter work uniform (don't worry, he wears pants too).


Here he is in a sleeved version made from black wool jersey

Since the pattern is designed as a sleeved garment, there are no instructions for finishing the armholes. I've tried various methods, as it's a bit tricky to get a nice edge in fleece. Self-fabric binding is too bulky, and I am never satisfied with turning the edge and topstitching it in place. My favorite finish is to use a woven bias tape, either purchased or self-made. This is a standard 1/2" wide single fold bias tape, applied to the right side of the armhole, turned to the inside and stitched close to the outer edge.


An exact color match isn't critical, since I roll the binding slightly to the inside to prevent it showing during wear. But I wouldn't recommend bright blue on tan fleece! I just threw that tape in the picture because I love the vintage packaging design...


This edge washes and wears beautifully. Because the armhole is large and deep (and because my husband likes his clothes way too big or, as he would say, relaxed), the edge does not really need to stretch.


As many times as I have made this pullover, I'm never entirely confident the v-neck will turn out nicely. I was happy with today's result!